

LED Light Assembly Manufacturer
LED Light Assembly to meet your every need.
LED lights have come to stay, they are not going anywhere. Their versatility and efficiency will continue to increase as more designers, engineers, and manufacturers turn into this efficient, energy-saving, and cost-effective light output. With the ingenuity applied in the production process and better ways of using LED in both domestic and industrial areas. It is time to fully adopt the LED light assembly technology.
LED Light Assembly
Wandan Lighting specialist offers a wide variety of LED Light Assembly Services to meet your every need.
LED (Light Emitting Diode) lights are widely used for various applications, including residential, commercial, and industrial purposes. The assembly of LED lights can be done in several ways, but the following steps are generally involved in the process:
- Choosing the LED: The first step in the LED light assembly process is to choose the appropriate LED for the specific application. This involves selecting the correct size, color, and brightness of the LED.
- Soldering: Once the LED is selected, the next step is to solder it to a circuit board. This involves connecting the positive and negative leads of the LED to the appropriate locations on the circuit board using a soldering iron and solder.
- Attaching the lens: After the LED is soldered to the circuit board, a lens is attached to the LED to help focus the light and protect it from damage. The lens can be attached using a variety of methods, including gluing or clipping it in place.
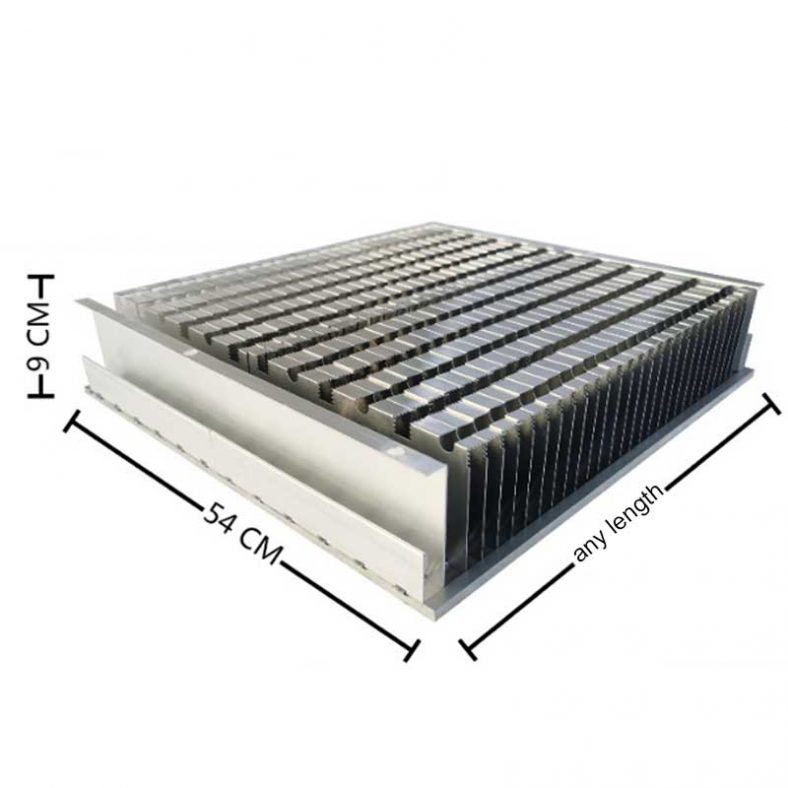
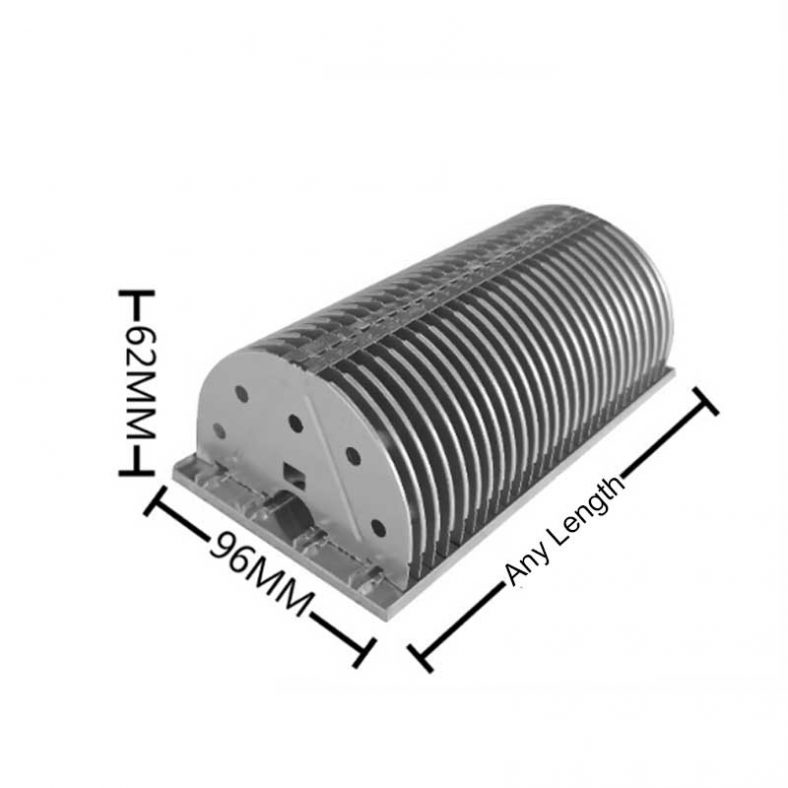
- Adding a heatsink: LED lights generate heat, which can damage the LED if not properly dissipated. To prevent this, a heatsink is often added to the assembly to help dissipate the heat generated by the LED.
- Connecting to a power source: Finally, the LED light assembly is connected to a power source, such as a battery or power supply, and tested to ensure it is working properly.
The above steps provide a general overview of the process involved in assembling an LED light. However, the process can vary depending on the specific application and the type of LED being used. For example, if the LED light is designed to be waterproof, additional steps may be required to ensure the assembly is watertight. Similarly, if the LED light is designed to be used in high-temperature environments, additional measures may be taken to ensure the assembly can withstand these conditions.
Relate led Lighting
Wandan Lighting specialist offers a wide variety of LED Light Assembly Services to meet your every need.
-

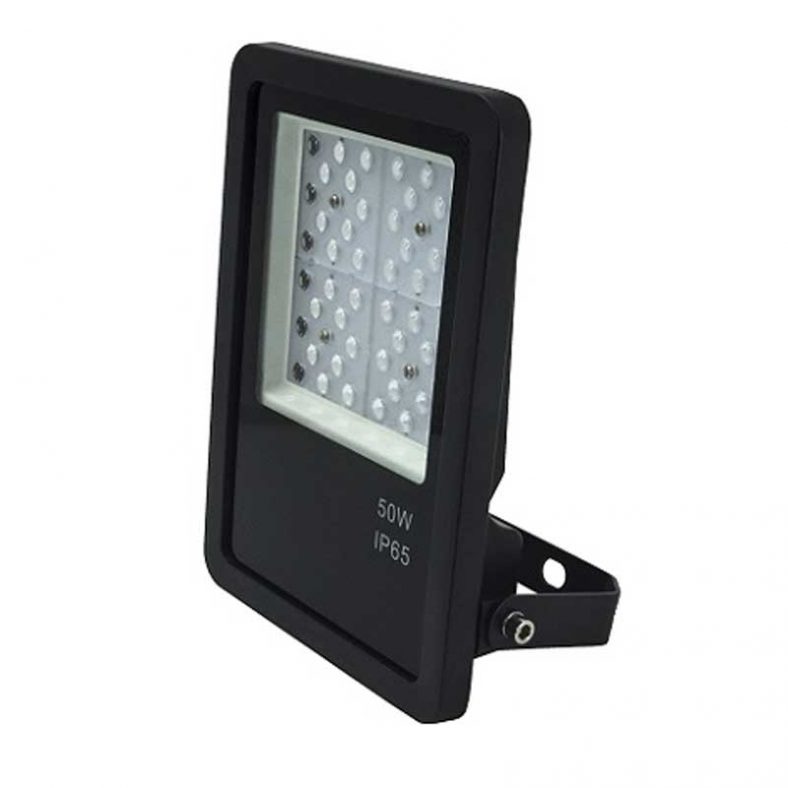
50W To 250W LED Flood Light T 100°
-
80W To 200W Symmetrical & Asymmetrical Slim LED Floodlight
-
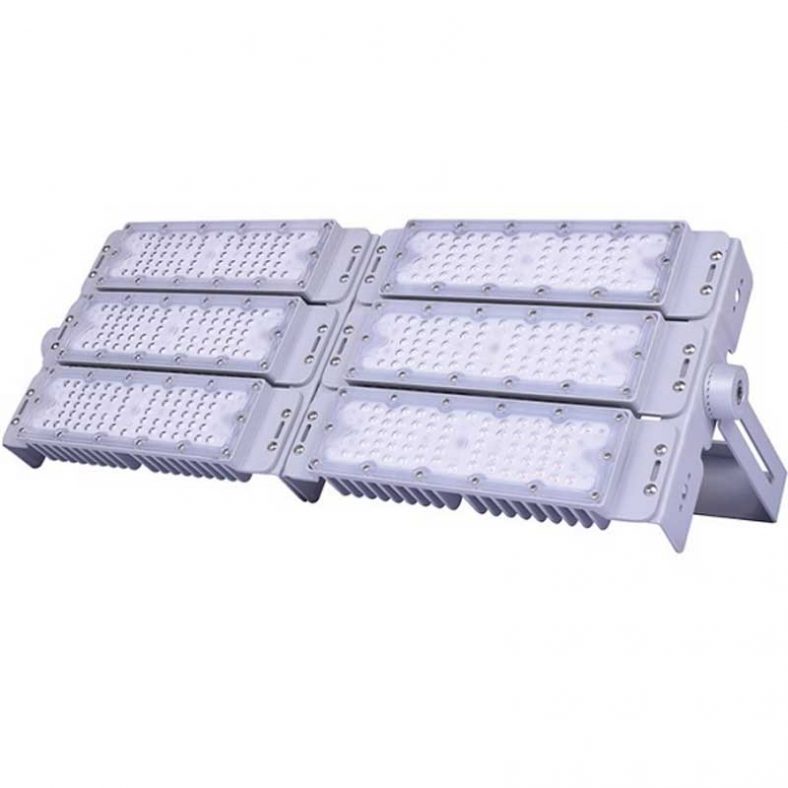
50W To 600W Modular LED Tunnel Light
-
IP65 50W To 250W LED Tunnel Light With Extruded Aluminum Housing
-
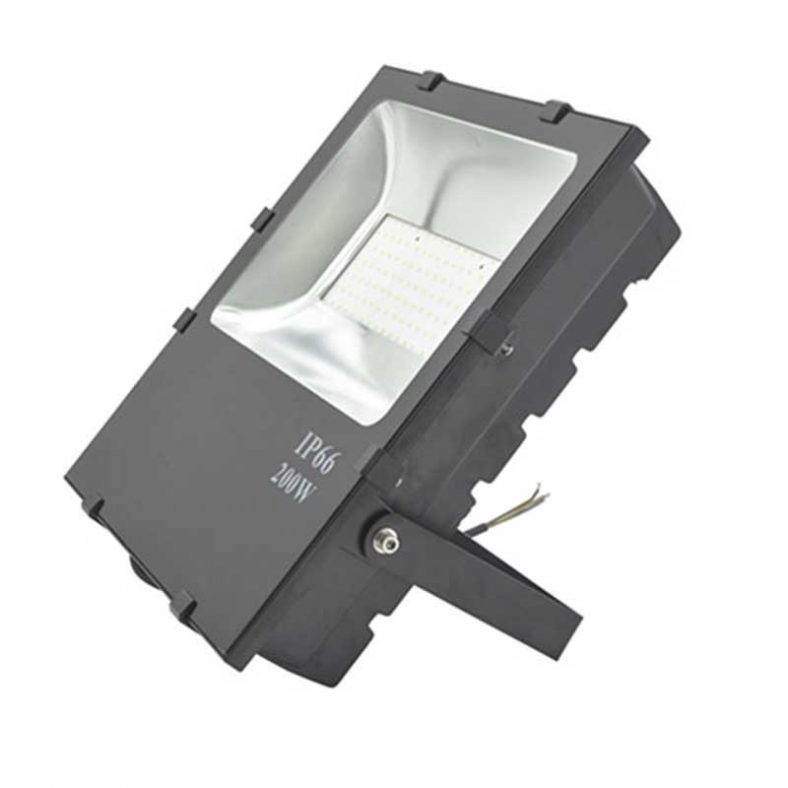
50W To 400W LED Flood Light With Optical Lens
-
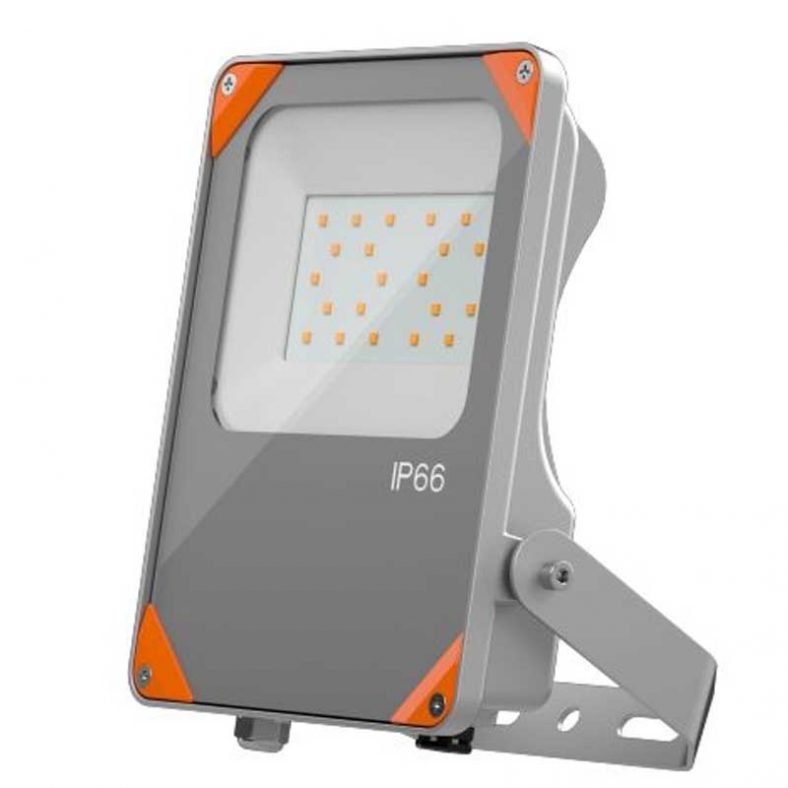
10W To 200W IP65 120° Led Flood Light
-
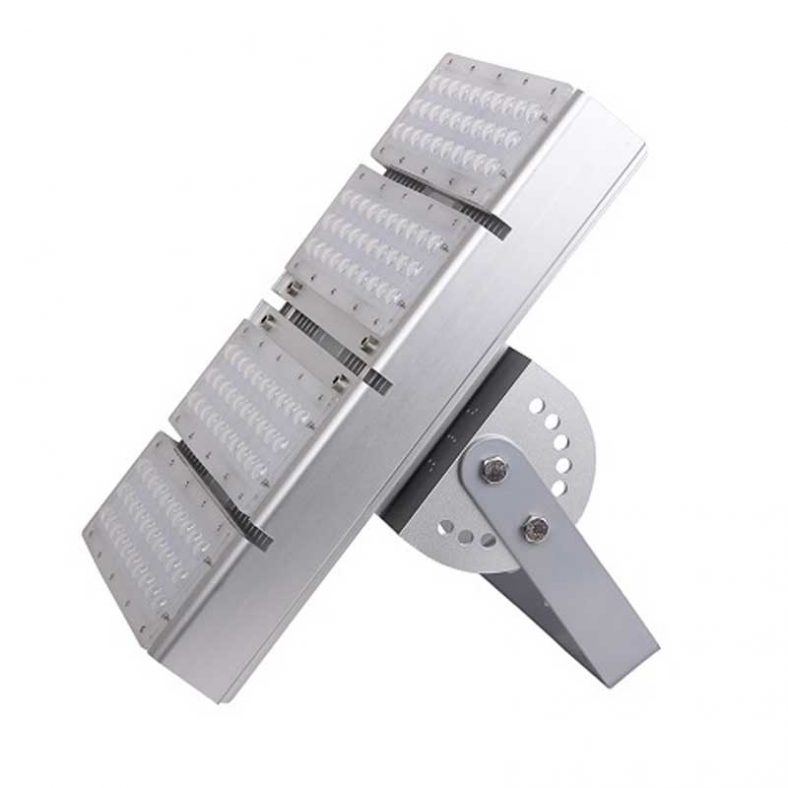
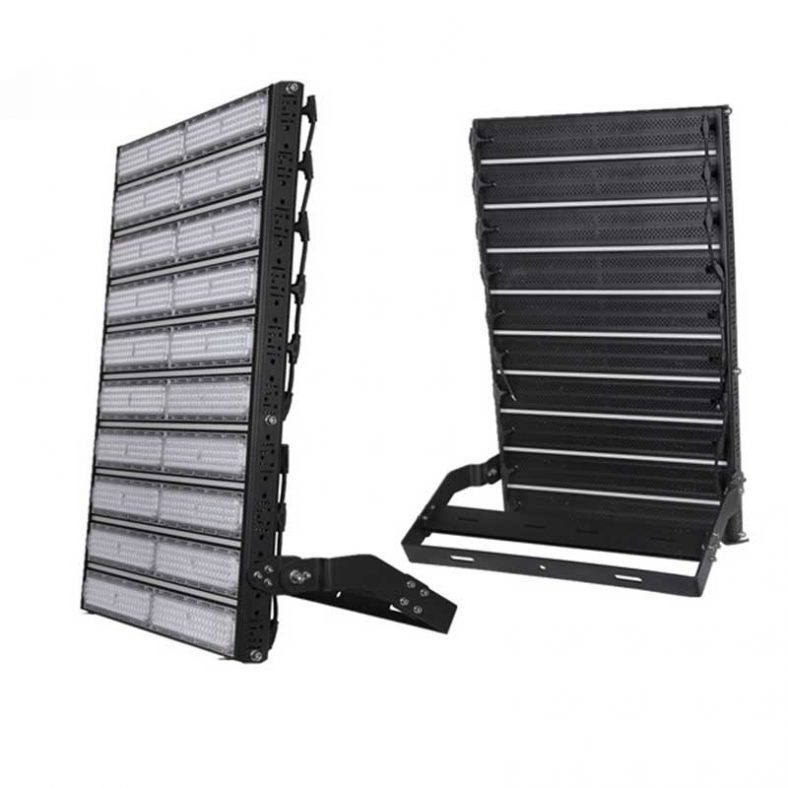
300W To 1000W 140lm~150/w LED Stadium Floodlight
-
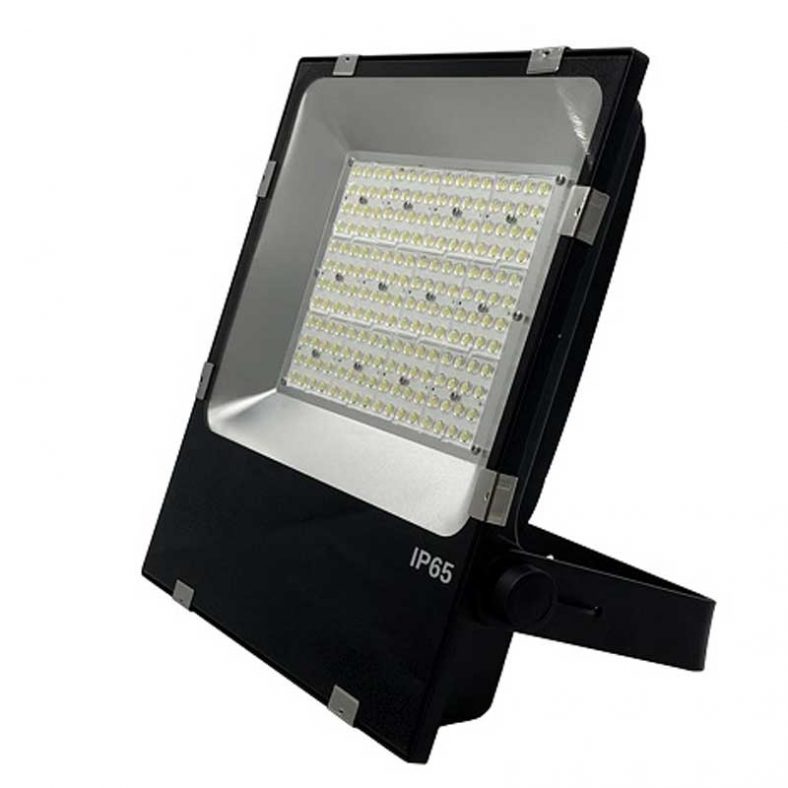
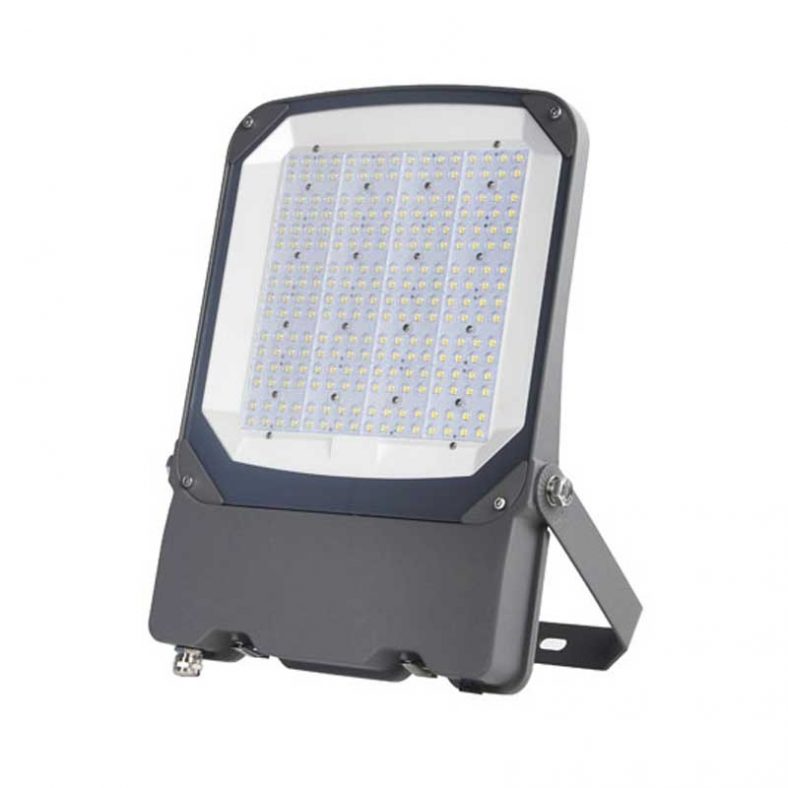
100W To 200W 140lm/w LED Flood Light
-
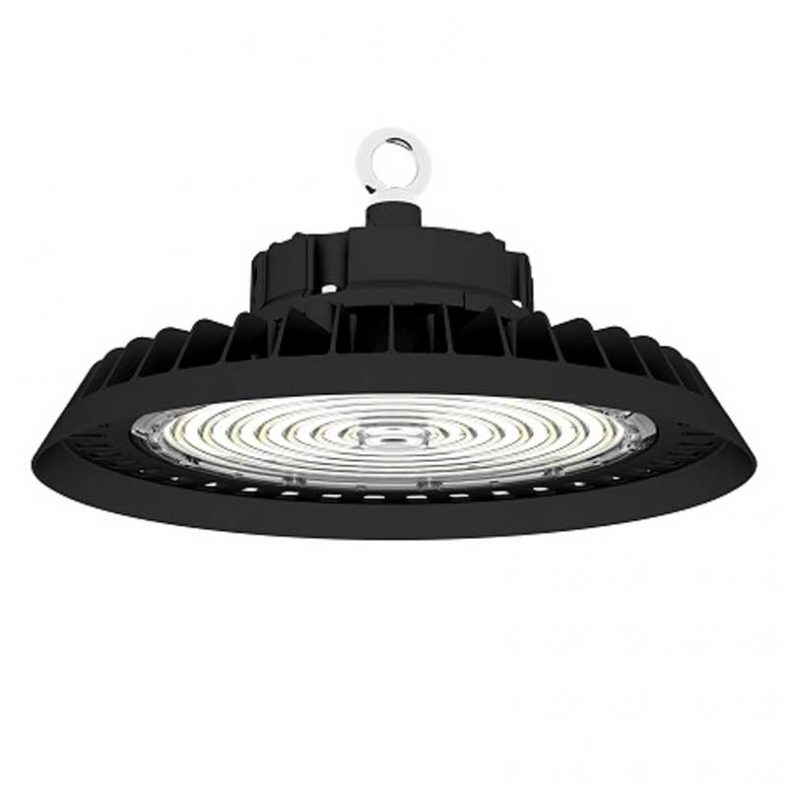
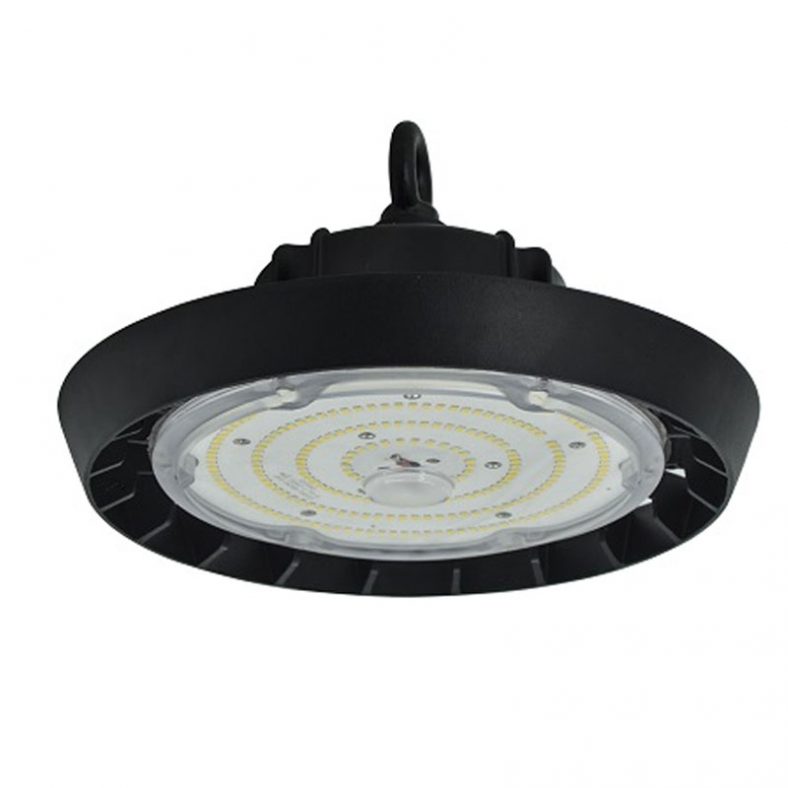
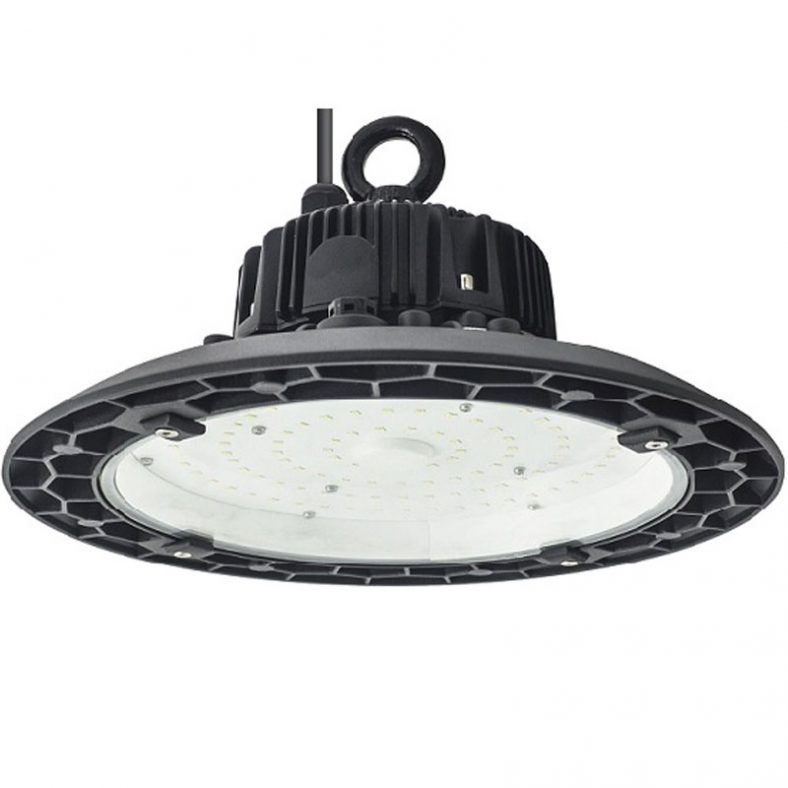
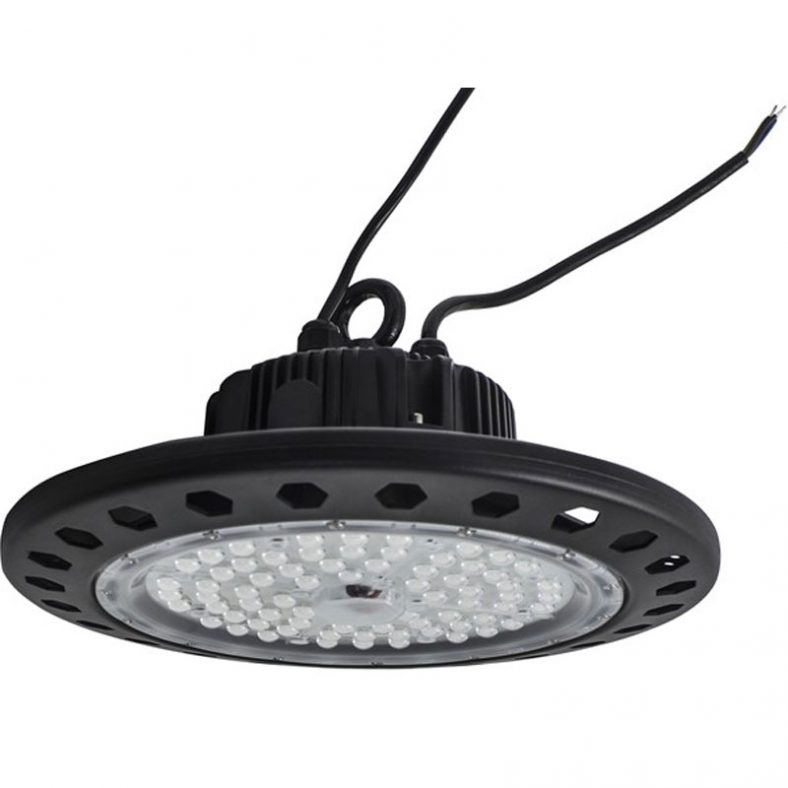
100W-240W UFO LED High Bay Light With Die Casting Aluminum Housing
-
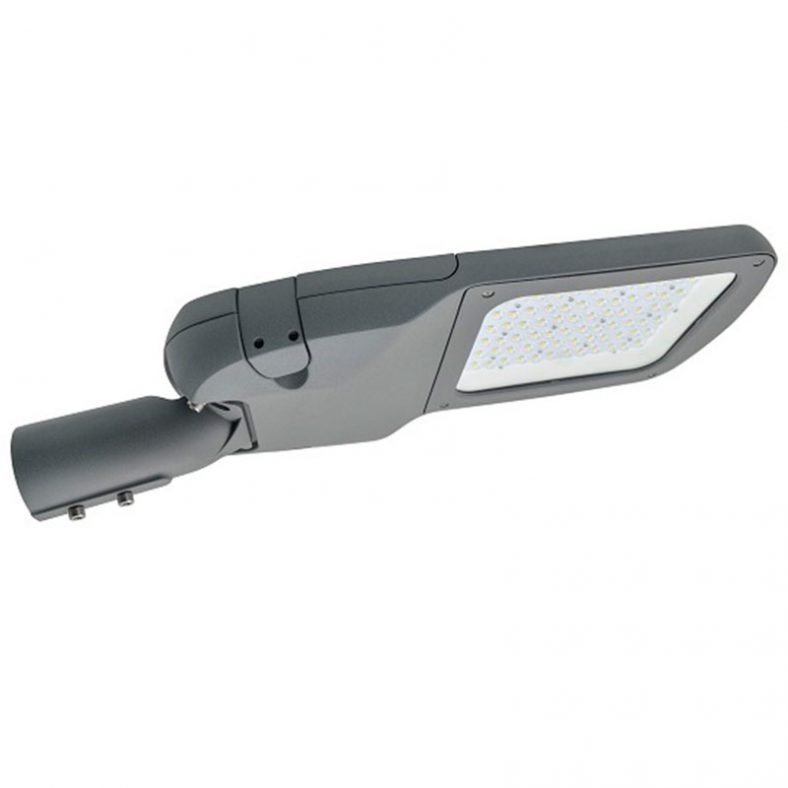
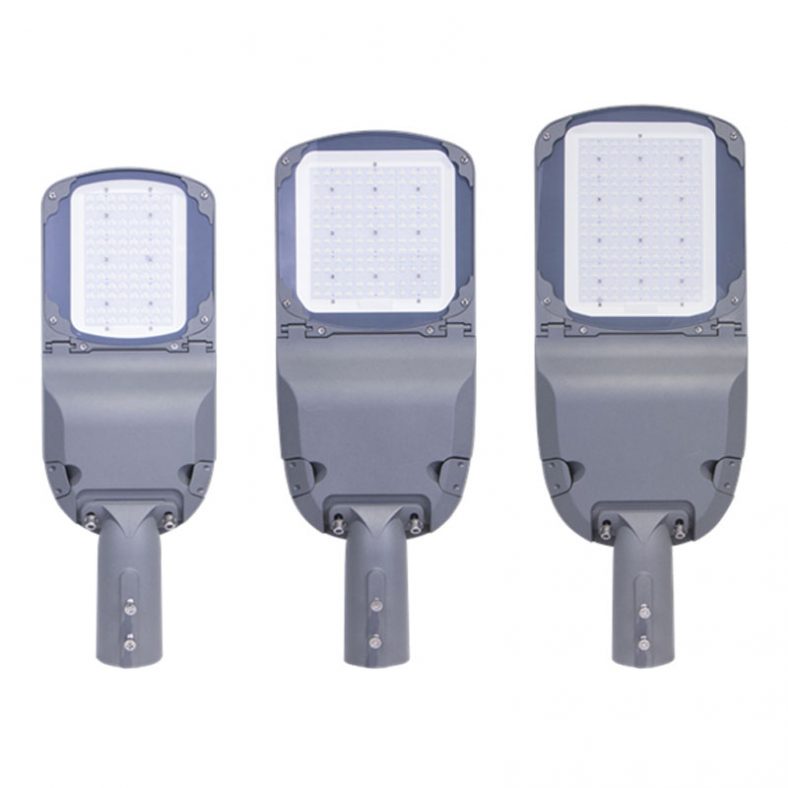
50W To 150W High Lumen Switch Power Design LED Street Light
-
Aluminum Die Casting 50W To 150W IP66 LED Street Light
-
100W 150W 200W 160lm/w LED UFO Led High Bay Light
-
130~140lm/w IP65 And IK08 UFO LED High Bay Light
-
160lm/w Ultrathin UFO LED High Bay Light
-
140lm/w 60W To 200W UFO Led High Bay Light
LED Light Assembly Kits/Parts
Wandan Lighting specialist offers a wide variety of LED Light Assembly Services to meet your every need.

LED Light Assembly Services guide
Wandan Lighting specialist offers a wide variety of LED Light Assembly Services to meet your every need.
LED light assembly refers to the process of putting together various components to create a functional LED light. LED lights consist of several key components, including LED chips, drivers, heat sinks, reflectors or lenses, housing, and mounting brackets. LED light assembly involves installing these components onto a circuit board, connecting them to a power source, and testing the finished product to ensure it is working properly.
The specific steps involved in LED light assembly can vary depending on the type of LED light being assembled and the manufacturer’s specific design. For example, assembling an LED high bay light can be more complex than assembling a standard LED light, as high bay lights require additional components such as larger heat sinks and reflectors or lenses to focus the light.
LED light assembly typically involves using a soldering iron and solder to connect the various components together. Care must be taken to ensure that the positive and negative leads of the LED chips are connected to the correct locations on the circuit board. The assembly process can also involve attaching mounting brackets and housing to protect the LED components and to mount the LED light to a ceiling or other support structure.
Overall, LED light assembly is a critical process that ensures the finished LED light functions properly and meets the design specifications. With proper assembly and testing, LED lights can provide energy-efficient, long-lasting lighting solutions for a wide range of applications.
The outlook for LED lights is quite positive, as they have become the preferred lighting technology for many applications. Here are some of the reasons why LED lights are expected to continue to grow in popularity:
- Energy efficiency: LED lights are much more energy-efficient than traditional incandescent or fluorescent bulbs, which means they can significantly reduce energy costs for households and businesses.
- Long lifespan: LED lights can last up to 25 times longer than traditional bulbs, which means they require less frequent replacements, reducing maintenance costs.
- Durability: LED lights are highly durable and can withstand shock, vibration, and extreme temperatures, making them ideal for use in outdoor and industrial settings.
- Design flexibility: LED lights come in a variety of shapes and sizes, making them highly flexible and suitable for a wide range of lighting applications.
- Environmental benefits: LED lights are free of toxic chemicals, such as mercury, which can harm the environment. They also emit less carbon dioxide than traditional bulbs, making them a more environmentally friendly choice.
- Technological advancements: The technology behind LED lights is constantly advancing, with new innovations being introduced regularly. This means that LED lights will continue to become even more efficient, durable, and cost-effective in the future.
Overall, LED lights are expected to continue to gain market share, as they offer significant advantages over traditional lighting technologies. As consumers and businesses become increasingly concerned about energy efficiency and environmental sustainability, LED lights are likely to become even more popular in the years ahead.
Assembling an LED street light can be a bit more complex than assembling a standard LED light. Here are the general steps involved in assembling an LED street light:
- Gather the components: The first step is to gather all the necessary components for the LED street light assembly. This includes the LED chips, drivers, heat sinks, housing, and mounting brackets.
- Install the LED chips: Once all the components are gathered, the LED chips are installed onto the circuit board using a soldering iron and solder. Care should be taken to ensure that the positive and negative leads are connected to the correct locations on the circuit board.
- Install the drivers: After the LED chips are installed, the drivers are installed onto the circuit board. The drivers help regulate the amount of power supplied to the LED chips to ensure they operate at the correct voltage and current.
- Install the heat sinks: LED street lights generate a lot of heat, which can damage the LED chips if not properly dissipated. To prevent this, heat sinks are installed onto the circuit board to help dissipate the heat generated by the LED chips.
- Install the housing and mounting brackets: Once the LED chips, drivers, and heat sinks are installed, the housing and mounting brackets are installed. The housing is designed to protect the LED chips and drivers from the elements, while the mounting brackets are used to attach the LED street light to a pole or other support structure.
- Connect to power: Finally, the LED street light assembly is connected to a power source, such as a battery or power supply, and tested to ensure it is working properly. Care should be taken to ensure that the voltage and current supplied to the LED street light assembly are within the specified range.
These steps provide a general overview of the process involved in assembling an LED street light. However, the specific steps may vary depending on the manufacturer and the design of the LED street light.
An SMD LED PCB (Surface Mount Device Light Emitting Diode Printed Circuit Board) is a type of PCB board used for mounting and connecting surface mount LEDs. SMD LEDs are a type of LED that are smaller and more compact than traditional through-hole LEDs, and are commonly used in electronic devices such as mobile phones, laptops, and televisions.
SMD LED PCBs are designed with a specific layout and size to accommodate SMD LEDs, which are soldered onto the board’s surface using surface mount technology (SMT). SMT involves placing the components on the board and then reflow soldering them in a high-temperature oven. This process creates a strong and reliable electrical connection between the SMD LEDs and the board.
SMD LED PCBs have several advantages over traditional through-hole PCBs, including:
- Smaller size: SMD LEDs are much smaller than through-hole LEDs, allowing for a more compact and space-efficient PCB design.
- Higher density: SMD LED PCBs can support higher component densities due to their smaller size, which allows for more functionality to be packed into a smaller space.
- Improved performance: SMD LEDs typically have better performance characteristics than through-hole LEDs, such as higher brightness and better color consistency.
- Lower cost: SMD LED PCBs can be produced at a lower cost than through-hole PCBs due to their smaller size and simplified manufacturing process.
SMD LED PCBs are used in a wide range of applications, including automotive lighting, backlit displays, and general lighting. They are ideal for any application that requires a small, high-performance LED solution.
Printed Circuit Boards (PCBs) play a crucial role in LED lighting systems. PCBs provide a physical platform for mounting and connecting the various components of an LED lighting system, including the LED chips, resistors, capacitors, and other electrical components.
PCBs are designed with specific electrical and physical properties to ensure the reliable operation of LED lighting systems. The properties of the PCBs used in LED lighting systems are carefully chosen to match the requirements of the LED chips, which are sensitive to temperature, current, and voltage.
The main function of PCBs in LED lighting systems is to provide electrical connectivity and mechanical support for the LED chips. This includes routing electrical traces on the PCB to connect the LED chips to other electrical components, such as resistors and capacitors, and to power sources. PCBs also help dissipate heat generated by the LED chips, which is important for maintaining the optimal operating temperature of the LED chips and extending their lifespan.
PCBs used in LED lighting systems are also designed with features that help to control the emission of light from the LED chips. For example, the layout of the PCB can be designed to reflect or diffuse light in specific directions or patterns, which is important for achieving the desired lighting effects in different applications.
In summary, PCBs are a critical component of LED lighting systems, providing electrical connectivity, mechanical support, heat dissipation, and light control. The careful design and selection of PCBs are crucial for ensuring the reliable operation and performance of LED lighting systems in a wide range of applications.
LED PCB (Printed Circuit Board) is often considered the heart of LED lighting systems because it serves as the base for the LED chips and provides the necessary electrical connections between them. Without an LED PCB, it would be impossible to create an efficient and reliable LED lighting system.
Here are some reasons why LED PCBs are crucial to LED lighting systems:
- Electrical Connections: LED PCBs provide the electrical connections needed to power and control the LED chips. The PCB acts as a platform to mount and connect the LED chips, resistors, capacitors, and other electronic components that make up the LED lighting system.
- Thermal Management: LED PCBs are designed to manage the heat generated by the LED chips. The PCB acts as a heat sink, dissipating the heat away from the LEDs to prevent overheating and prolong the lifespan of the LED chips.
- Efficiency: LED PCBs are designed to optimize the efficiency of the LED lighting system. The PCB layout is carefully designed to minimize losses and maximize the brightness of the LEDs.
- Flexibility: LED PCBs can be designed to fit specific shapes and sizes, making them highly versatile and suitable for a wide range of applications. LED PCBs can also be customized with different LED chip configurations, allowing for a range of color temperatures and brightness levels.
Overall, LED PCBs are a critical component in the design and manufacture of LED lighting systems, serving as the foundation for the LED chips and providing the necessary electrical connections, thermal management, and efficiency to create a reliable and efficient lighting system.
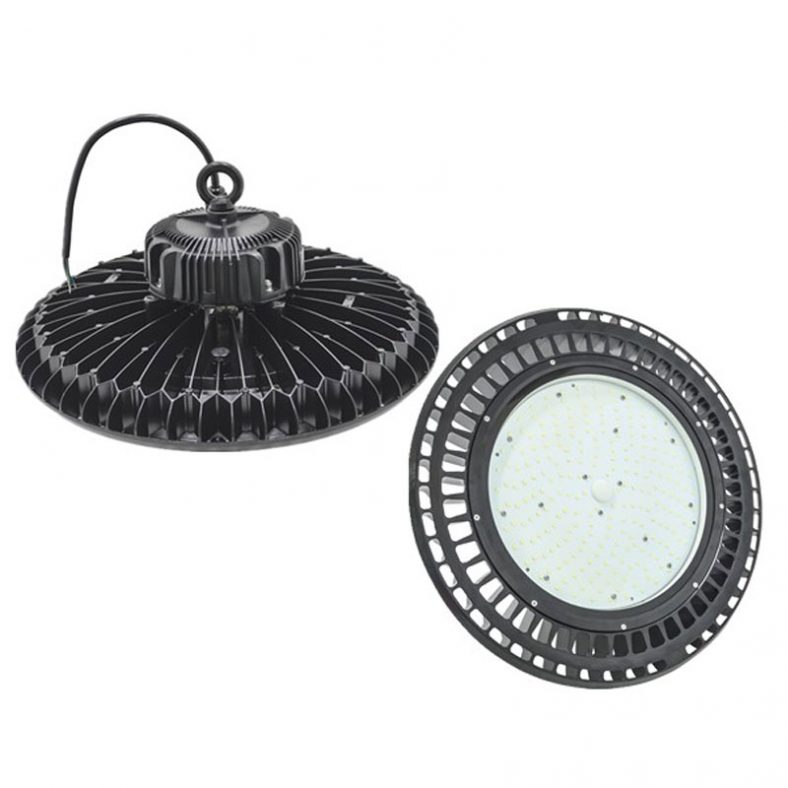
Assembling an LED high bay light can be a bit more complex than assembling a standard LED light. Here are the general steps involved in assembling an LED high bay light:
- Gather the components: The first step is to gather all the necessary components for the LED high bay light assembly. This includes the LED chips, drivers, heat sinks, reflectors or lenses, housing, and mounting brackets.
- Install the LED chips: Once all the components are gathered, the LED chips are installed onto the circuit board using a soldering iron and solder. Care should be taken to ensure that the positive and negative leads are connected to the correct locations on the circuit board.
- Install the drivers: After the LED chips are installed, the drivers are installed onto the circuit board. The drivers help regulate the amount of power supplied to the LED chips to ensure they operate at the correct voltage and current.
- Install the heat sinks: LED high bay lights generate a lot of heat, which can damage the LED chips if not properly dissipated. To prevent this, heat sinks are installed onto the circuit board to help dissipate the heat generated by the LED chips.
- Install the reflectors or lenses: Depending on the specific application, reflectors or lenses may need to be installed onto the LED high bay light to help focus the light and improve efficiency.
- Install the housing and mounting brackets: Once the LED chips, drivers, heat sinks, and reflectors or lenses are installed, the housing and mounting brackets are installed. The housing is designed to protect the LED chips and drivers from the elements, while the mounting brackets are used to attach the LED high bay light to a ceiling or other support structure.
- Connect to power: Finally, the LED high bay light assembly is connected to a power source, such as a battery or power supply, and tested to ensure it is working properly. Care should be taken to ensure that the voltage and current supplied to the LED high bay light assembly are within the specified range.
These steps provide a general overview of the process involved in assembling an LED high bay light. However, the specific steps may vary depending on the manufacturer and the design of the LED high bay light.
LED (Light Emitting Diode) light assembly and LED PCB (Printed Circuit Board) are crucial components in the design and manufacture of LED lighting systems. Here are some of the main uses and applications of LED light assembly and LED PCB:
- General Lighting: LED light assemblies are widely used in the general lighting industry due to their low energy consumption, long lifespan, and high efficiency. LED PCBs are used to provide the necessary electrical connections for the LED chips, enabling the production of LED bulbs, tubes, and panels.
- Automotive Lighting: LED light assemblies are used extensively in automotive lighting due to their high brightness, low power consumption, and long lifespan. LED PCBs are used to produce the necessary electrical connections for LED headlights, taillights, and indicators.
- Backlighting: LED light assemblies are commonly used in backlighting applications, such as in LCD screens, displays, and keyboards. LED PCBs are used to provide the necessary electrical connections and control the brightness of the LEDs.
- Signage: LED light assemblies are used extensively in signage applications due to their high brightness and energy efficiency. LED PCBs are used to produce the necessary electrical connections for the LEDs, enabling the production of LED signs, billboards, and displays.
- Medical Equipment: LED light assemblies are used in medical equipment, such as surgical lights and examination lamps, due to their high brightness, color rendering, and energy efficiency. LED PCBs are used to produce the necessary electrical connections and control the color temperature of the LEDs.
- Entertainment Lighting: LED light assemblies are commonly used in entertainment lighting applications, such as stage lighting and architectural lighting, due to their high brightness, color rendering, and energy efficiency. LED PCBs are used to provide the necessary electrical connections and control the color and intensity of the LEDs.
Overall, LED light assembly and LED PCB are essential components in the manufacture of LED lighting systems used in a wide range of applications, from general lighting to automotive and medical equipment.
LED PCB assembly refers to the process of assembling electronic components onto a Printed Circuit Board (PCB) specifically designed for LED applications. The capabilities of LED PCB assembly are quite diverse and depend on various factors, such as the type of LED used, the size of the PCB, and the complexity of the circuitry.
Here are some of the capabilities of LED PCB assembly:
- Surface mount technology: LED PCB assembly can utilize surface mount technology (SMT) to attach components to the board, which is a highly efficient method of assembly. SMT can be used for both through-hole and surface-mount LEDs.
- High-density interconnects: LED PCB assembly can achieve high-density interconnects, which allows for more complex circuitry to be implemented in a smaller space.
- Heat dissipation: LED PCB assembly can include thermal management features, such as heat sinks and copper planes, to dissipate the heat generated by the LEDs. This ensures that the LEDs operate at optimal temperatures and have a longer lifespan.
- Design flexibility: LED PCB assembly can be customized to meet specific requirements, such as size, shape, and functionality. This allows for greater design flexibility and ensures that the final product meets the desired specifications.
- Automated assembly: LED PCB assembly can be performed using automated assembly equipment, which ensures consistent quality and reduces production time and costs.
- Testing and inspection: LED PCB assembly can include testing and inspection processes to ensure that the final product meets the desired performance and quality standards.
Overall, LED PCB assembly is a highly capable process that can produce high-quality LED products with a range of features and functionalities.
Printed Circuit Board Assembly service
Printed circuit board assemblies are the core of electronic devices as, without it electronics manufacturing is impossible. The demand for PCB assembly increases due to the following benefits:
Compact Size
Copper tracks are more used in PCB than wires, making inside connections less heavy. So, the printed circuit boards are not heavy and smaller in size.
Save Time
Conventional method takes a lot of time to join the components. On the other hand, PCB needs less time to assemble all the components. Less time-consuming.
Lower Cost
Cost is vital for the manufacturing of electronic devices. Make sure the circuit boards are properly designed and tested so that it can work properly. This is affordable at a lower cost in mass production.
Easy to repair
If any component fails to work or is damaged, it’s simple to identify it. You can easily replace or repair that component.
Low Noise
There is less noise in printed circuit boards. This improves reliability in devices as heat overcomes the electrical noise.
